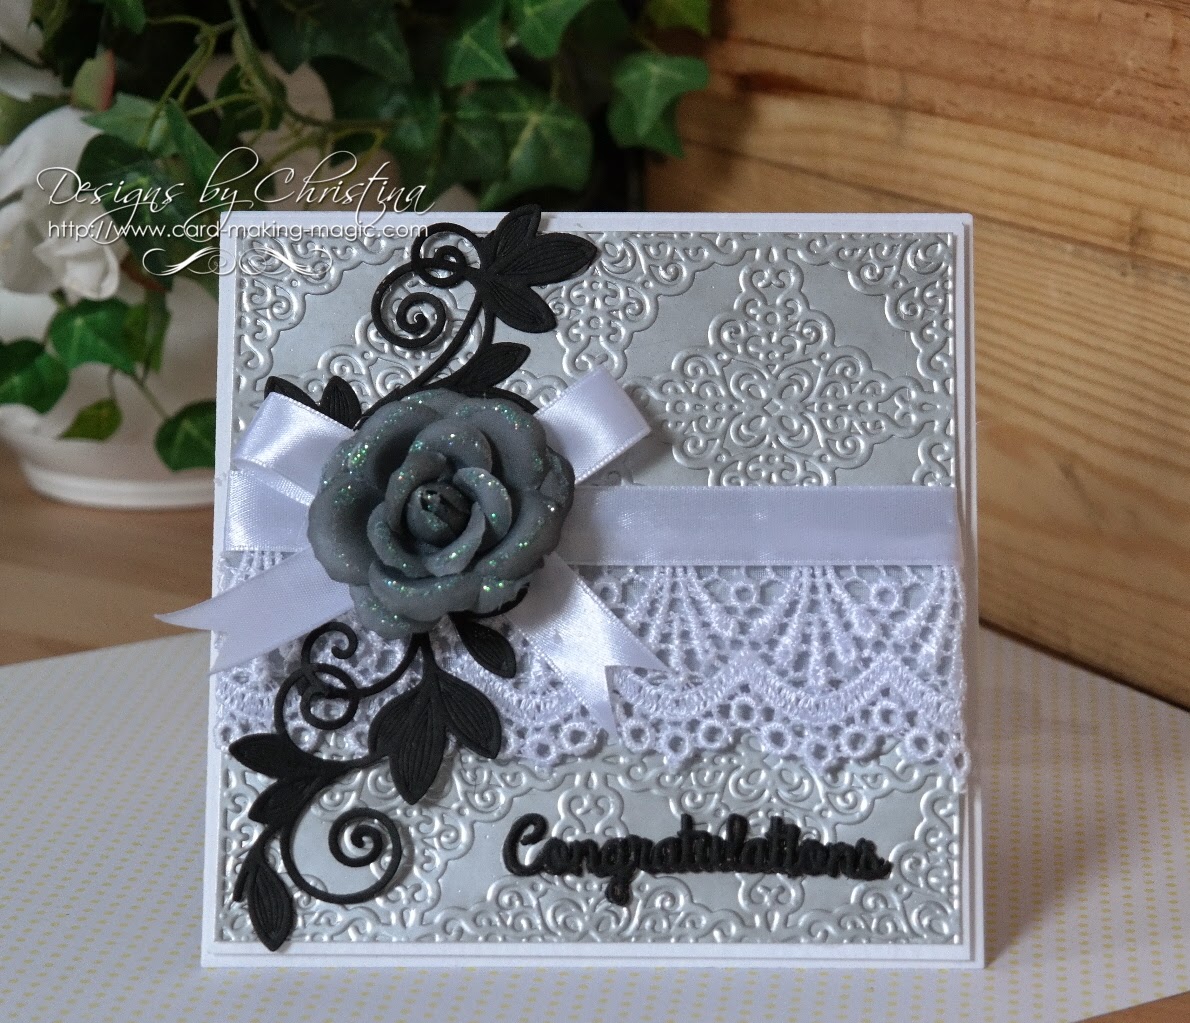
Todays tutorial use the Victorian Arch from Spellbinders and this is quite a large die and can be used in lots of different ways.
For my card I have created the design in turquoise and white and added in some really pretty flowers.

Spellbinders Supplies:
- S4-544 Victorian Arch
- S4-444 Royal Circle
- S6-025 6x6 Matting Basics A
- S6-026 6x6 Matting Basics B
- GC-220 Grand Calibur
- SCI-003 Cool Caribbean
Other Supplies:
- Wild Orchid Crafts - Flowers
- Mei Flower - Ribbon
- Want2Scrap - Chipboard word
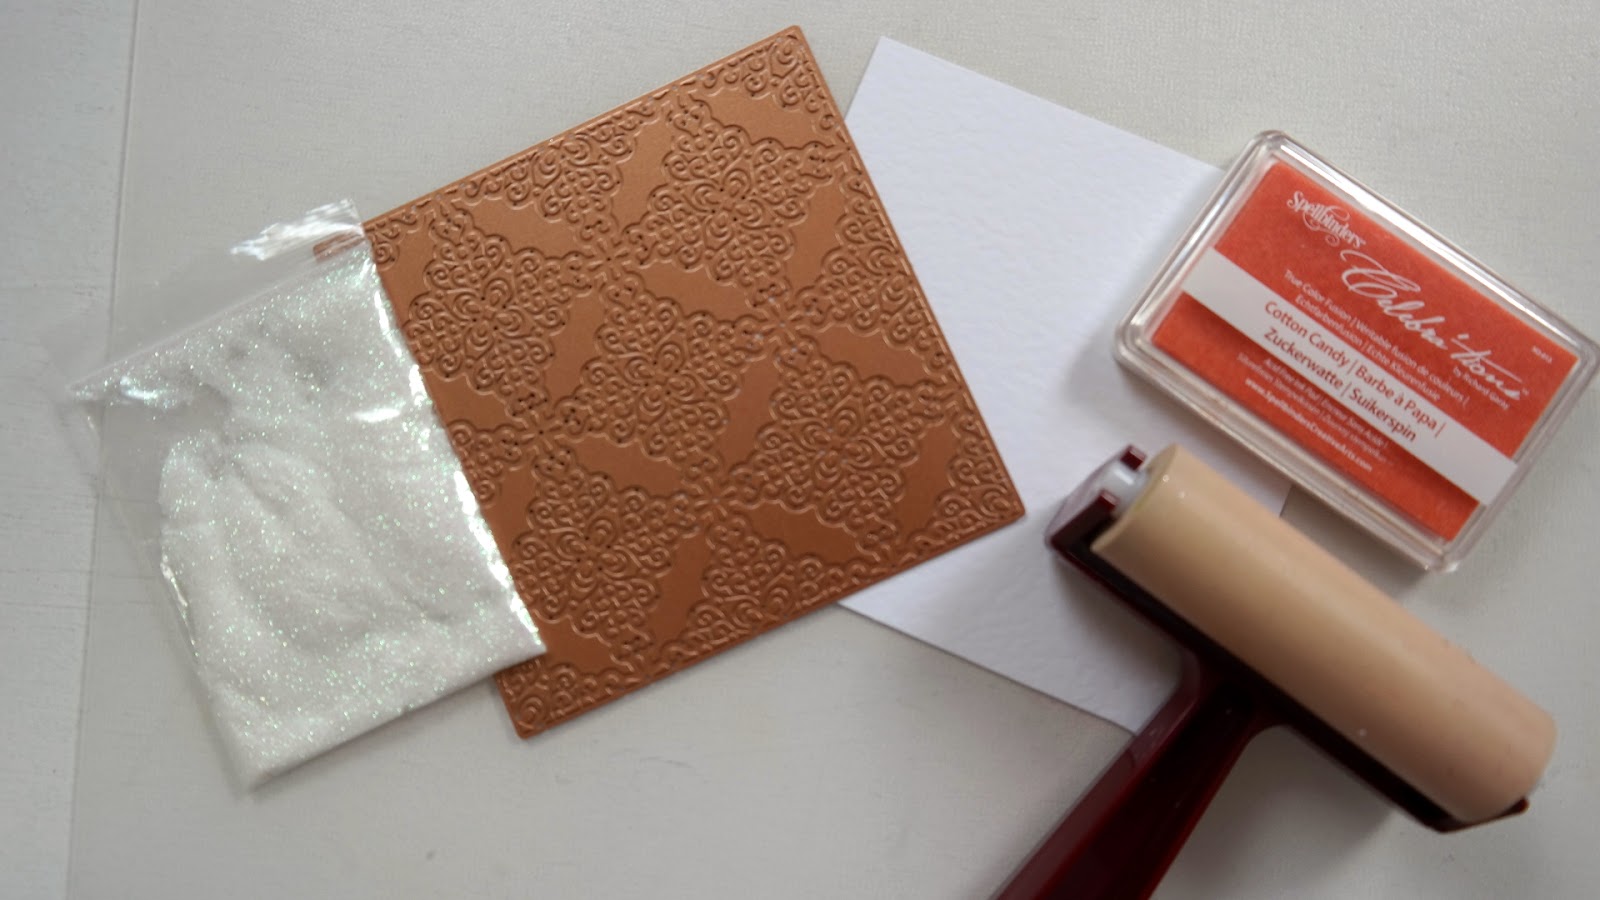
- Clear embossing powder
Instructions:


With the centre part of the Victorian Arch add it to this white layer and keep it close to the edge ... tape it in place so it won't move and run it through the Grand Calibur


Attach this piece to the colored layer leaving a small border around the edges and then cover the join with some ribbon

From the Royal Circle #2 cut one shape and add foam pads to the back of this (You can use any circle die that you have )

With the chipboard word I have colored it with a deep turquoise ink pad and then covered it with clear embossing powder and heated it ... then repeated the process to deepen the color
Add in the flowers and a bow into the position you want them and add a sparkler to cover the bows knot. Line the inside of the card with the second piece of colored card for a really pretty finish.
More tomorrow ...
Hugs xx