Hi Everybody,
This pretty card is created by simply folding an A4 sheet in half and then cutting in half.
It will produce two cards for you to decorate as you wish.
But it fits perfectly the Spellbinders Heart Leaf Frame designed by Marisa Job.
So a quick and easy card for today
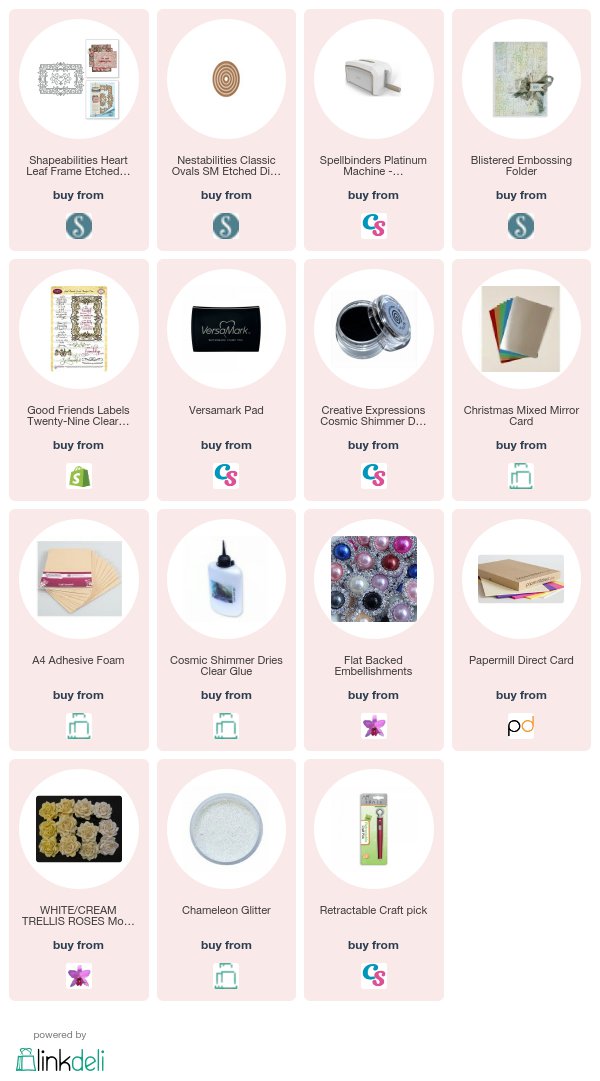
Spellbinders Supplies:
- Heart Leaf Frame
- Blistered Embossing Folder
- Classic Ovals
Other Supplies:
- Card from Papermill Direct
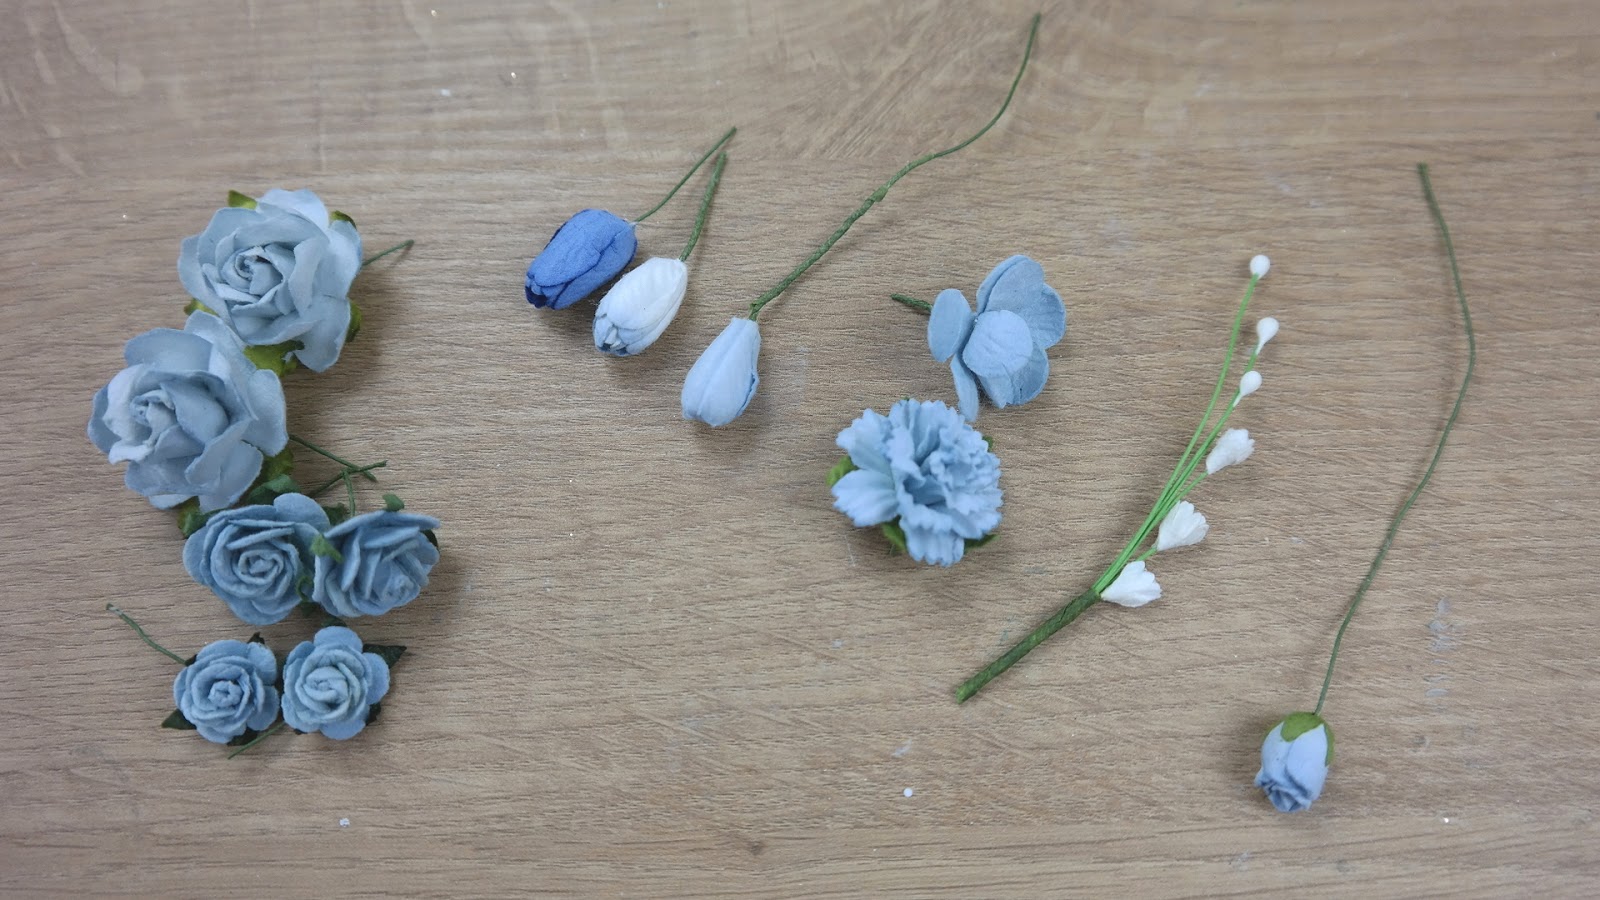
- Flowers from Wild orchid Craft
- Glitter from Glitter Magic
- Ribbon from Mei Flower
- Gold card from Craft Stash
Instructions:
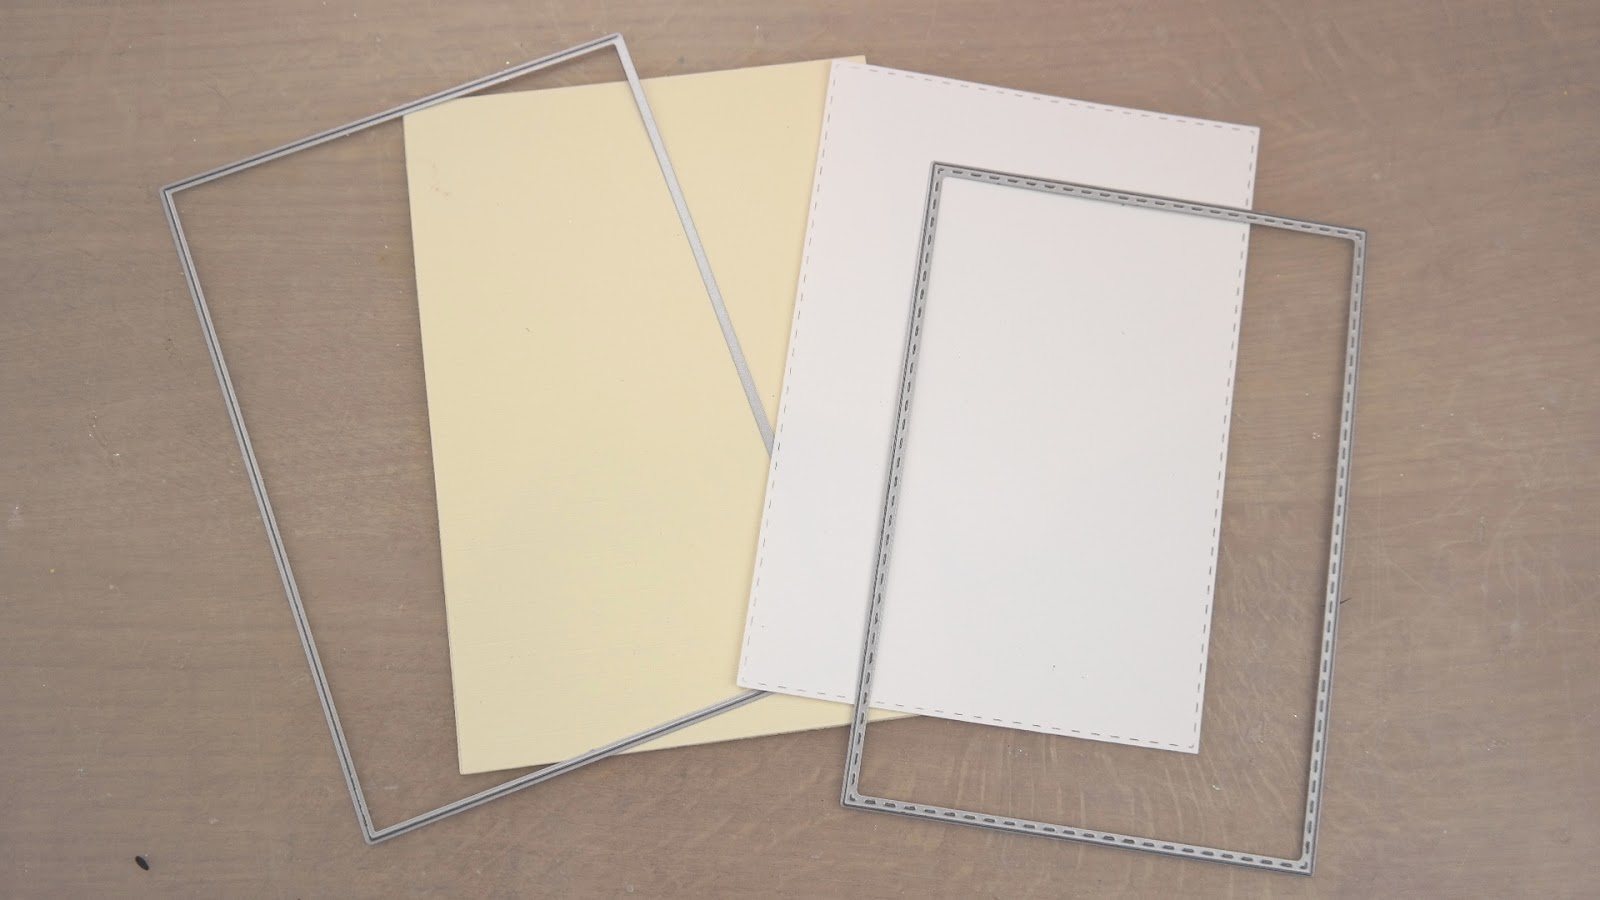
Fold an A4 piece of white card in half along the short side and then cut in half to produce two tent fold cards
Cut another slightly smaller layer to leave a small border around the edges and emboss this piece
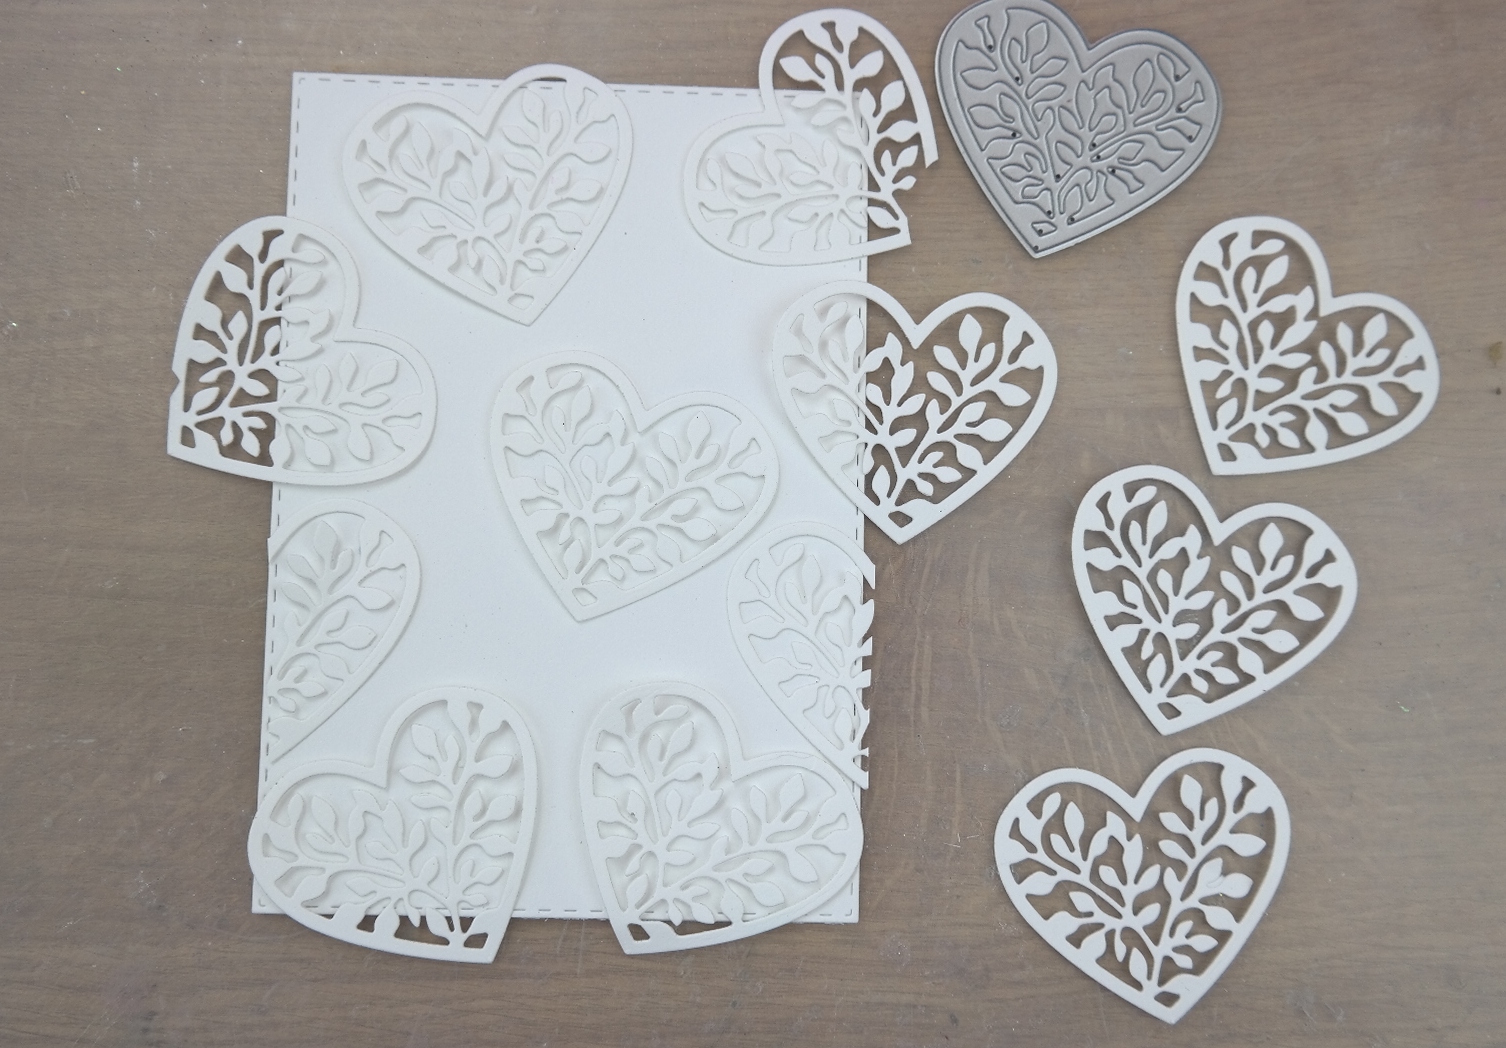
With bright gold card cut the Frame die and if you care fully position the die into the centre of a 5x7 panel then you will get all three pieces from the die as shown above.
I will be using the two pieces to the right but the other one will be kept for another project
Savvy Crafting !!
Add the filigree piece to the embossed panel.
Add the smallest solid piece with foam pads underneath to the centre of the card.
Wrap with ribbon around the layers before adding to the base card
Stamp and emboss the sentiment of your choice and cut with the oval to fit the verse
Add to the centre with foam pads
Dress with flowers, dot with glue and sprinkle with glitter.
Adhere the bow and the dazzler to cover the knot.
Your comments please ...
Craft Stash are asking for your first thoughts on my new collection that was launched on the 20th October, If you bought some of it would you please consider taking part in the is survey
More tomorrow ...
Hugs xx